One of the many things we loved about the Forever House was all the radiators! Having come from the land of forced air heat, the romance and nostalgia of old radiators was a definite plus. What we didn’t think too much about was the process of maintaining each of the eight radiators in the house. They are each unique in size, shape, pattern, colour, and condition.
Removing radiators is typically a last resort and not part of our current repair plans, although our intention is to remove the radiators in the future, during major renovation, and have them professional restored. For right now, the goal is to make the radiators safe for us and our guests. That means, no chipping, flaking, or exposed lead paint.
Since lead exposure has some serious ramifications, I took my time researching how to repaint the worn radiators. With that in mind, I explored modern technologies for lead removal and developed a pretty simple process that was very achievable for the average human.
Step 1. Testing for Lead
To determine if there was exposed lead on the radiators, I used a lead test swab. The swabs come in a sealed container with 10-30 swabs. You will need 2-3 per radiator to test before and after. To use the swabs, you just dip one in water and then run the tip along the edges of the radiator. In the presence of lead, the bright orange colour of the swab turns to a deep burgundy color. I tested every one of our eight radiators and found that four were positive for lead and needed to be addressed this season.
Step 2. Prepping for Removal
I brushed up on my awareness of working with lead, and then got familiar with my options for removing lead paint from cast iron radiators. Many online posts warn not to try and sand the chipping paint because it puts the lead molecules into the air and inhalation is a primary method of exposure. Since I don’t have a lot of experience working with lead, I was interested in finding an optimal solution (pun intended!) for removal.
The product I chose was a lead paint stripper that reacts with the lead at the molecular level to convert the lead compounds to a non-hazardous waste. Wow! I freaking love technology!! The product is called Franmar or Blue Bear 690PB. I bought a 5 gallon pail and paid about $900 after shipping. It was pricey, but the technical capabilities of the product offer unparalleled safety, which was a priority for us.
I also accumulated the tools that I anticipated needing:
- Plastic for draping
- Scraping tools
- Grout brush
- Brass brush
- Radiator brush
- Wallpaper brush
- Scrubby sponge
- 2 buckets
- Dust mask
- Nitrile gloves
- Safety glasses
- Mixing tool
- Drill
- Rags
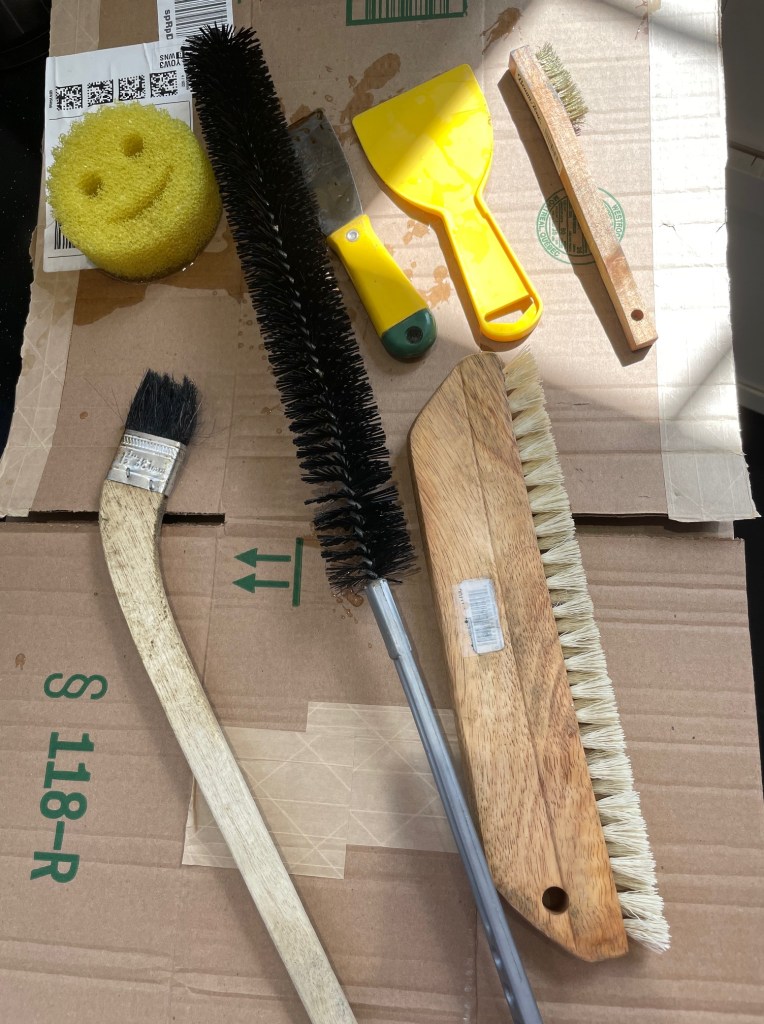
Here’s a photo of my favorite tools. A surprise helper was a brush that was included in a wallpapering kit. I never used it for wallpaper but it was long and thin enough to be helpful in cleaning between the fins.
Step 3. Cleaning and Prepping the Radiator
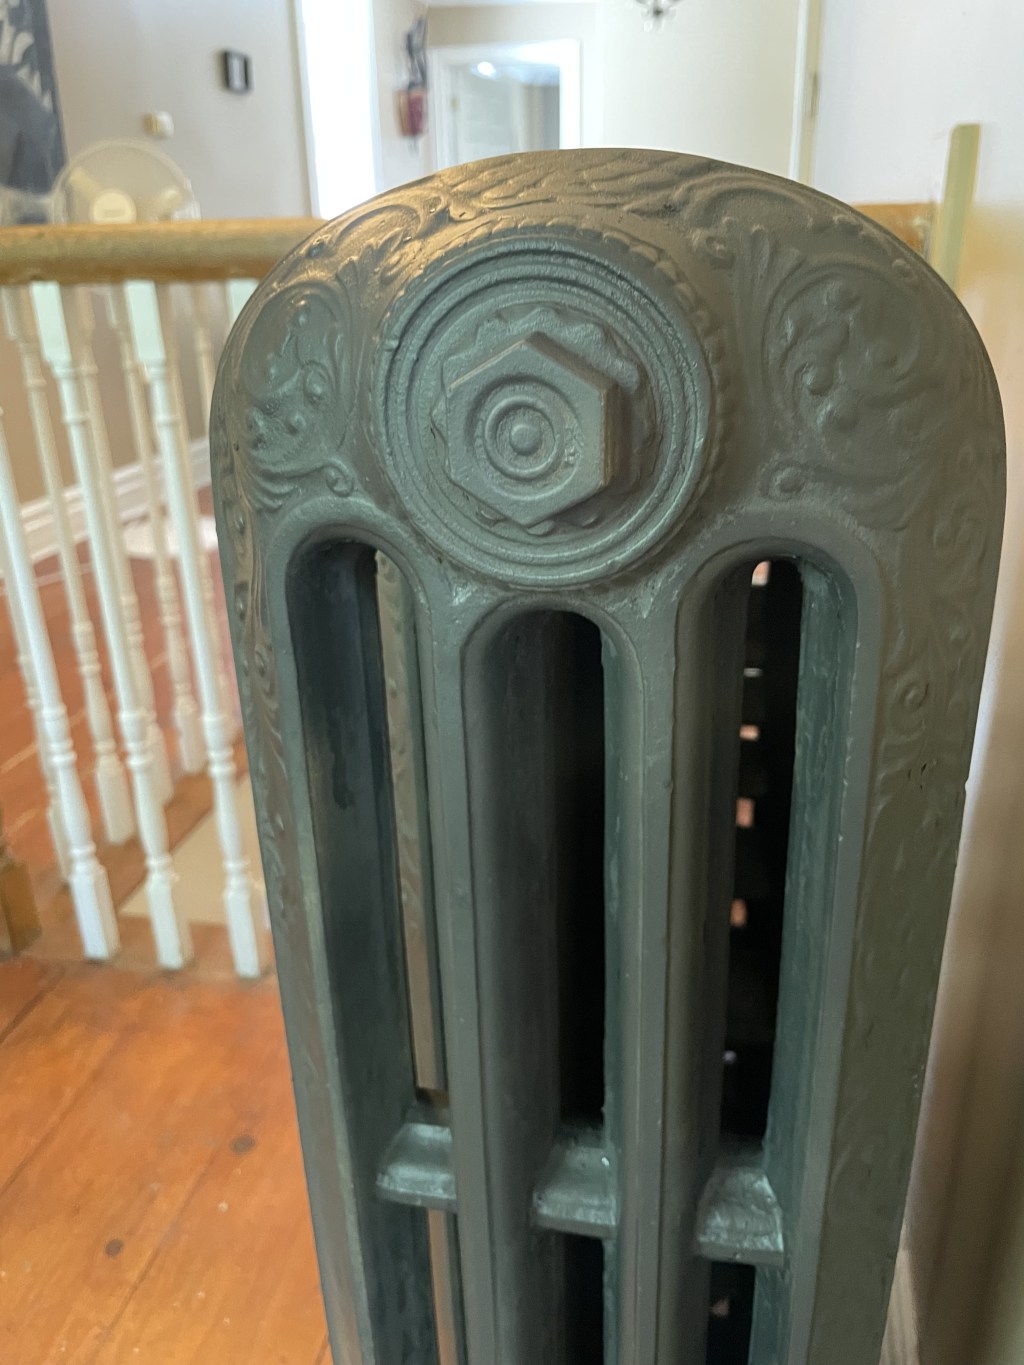
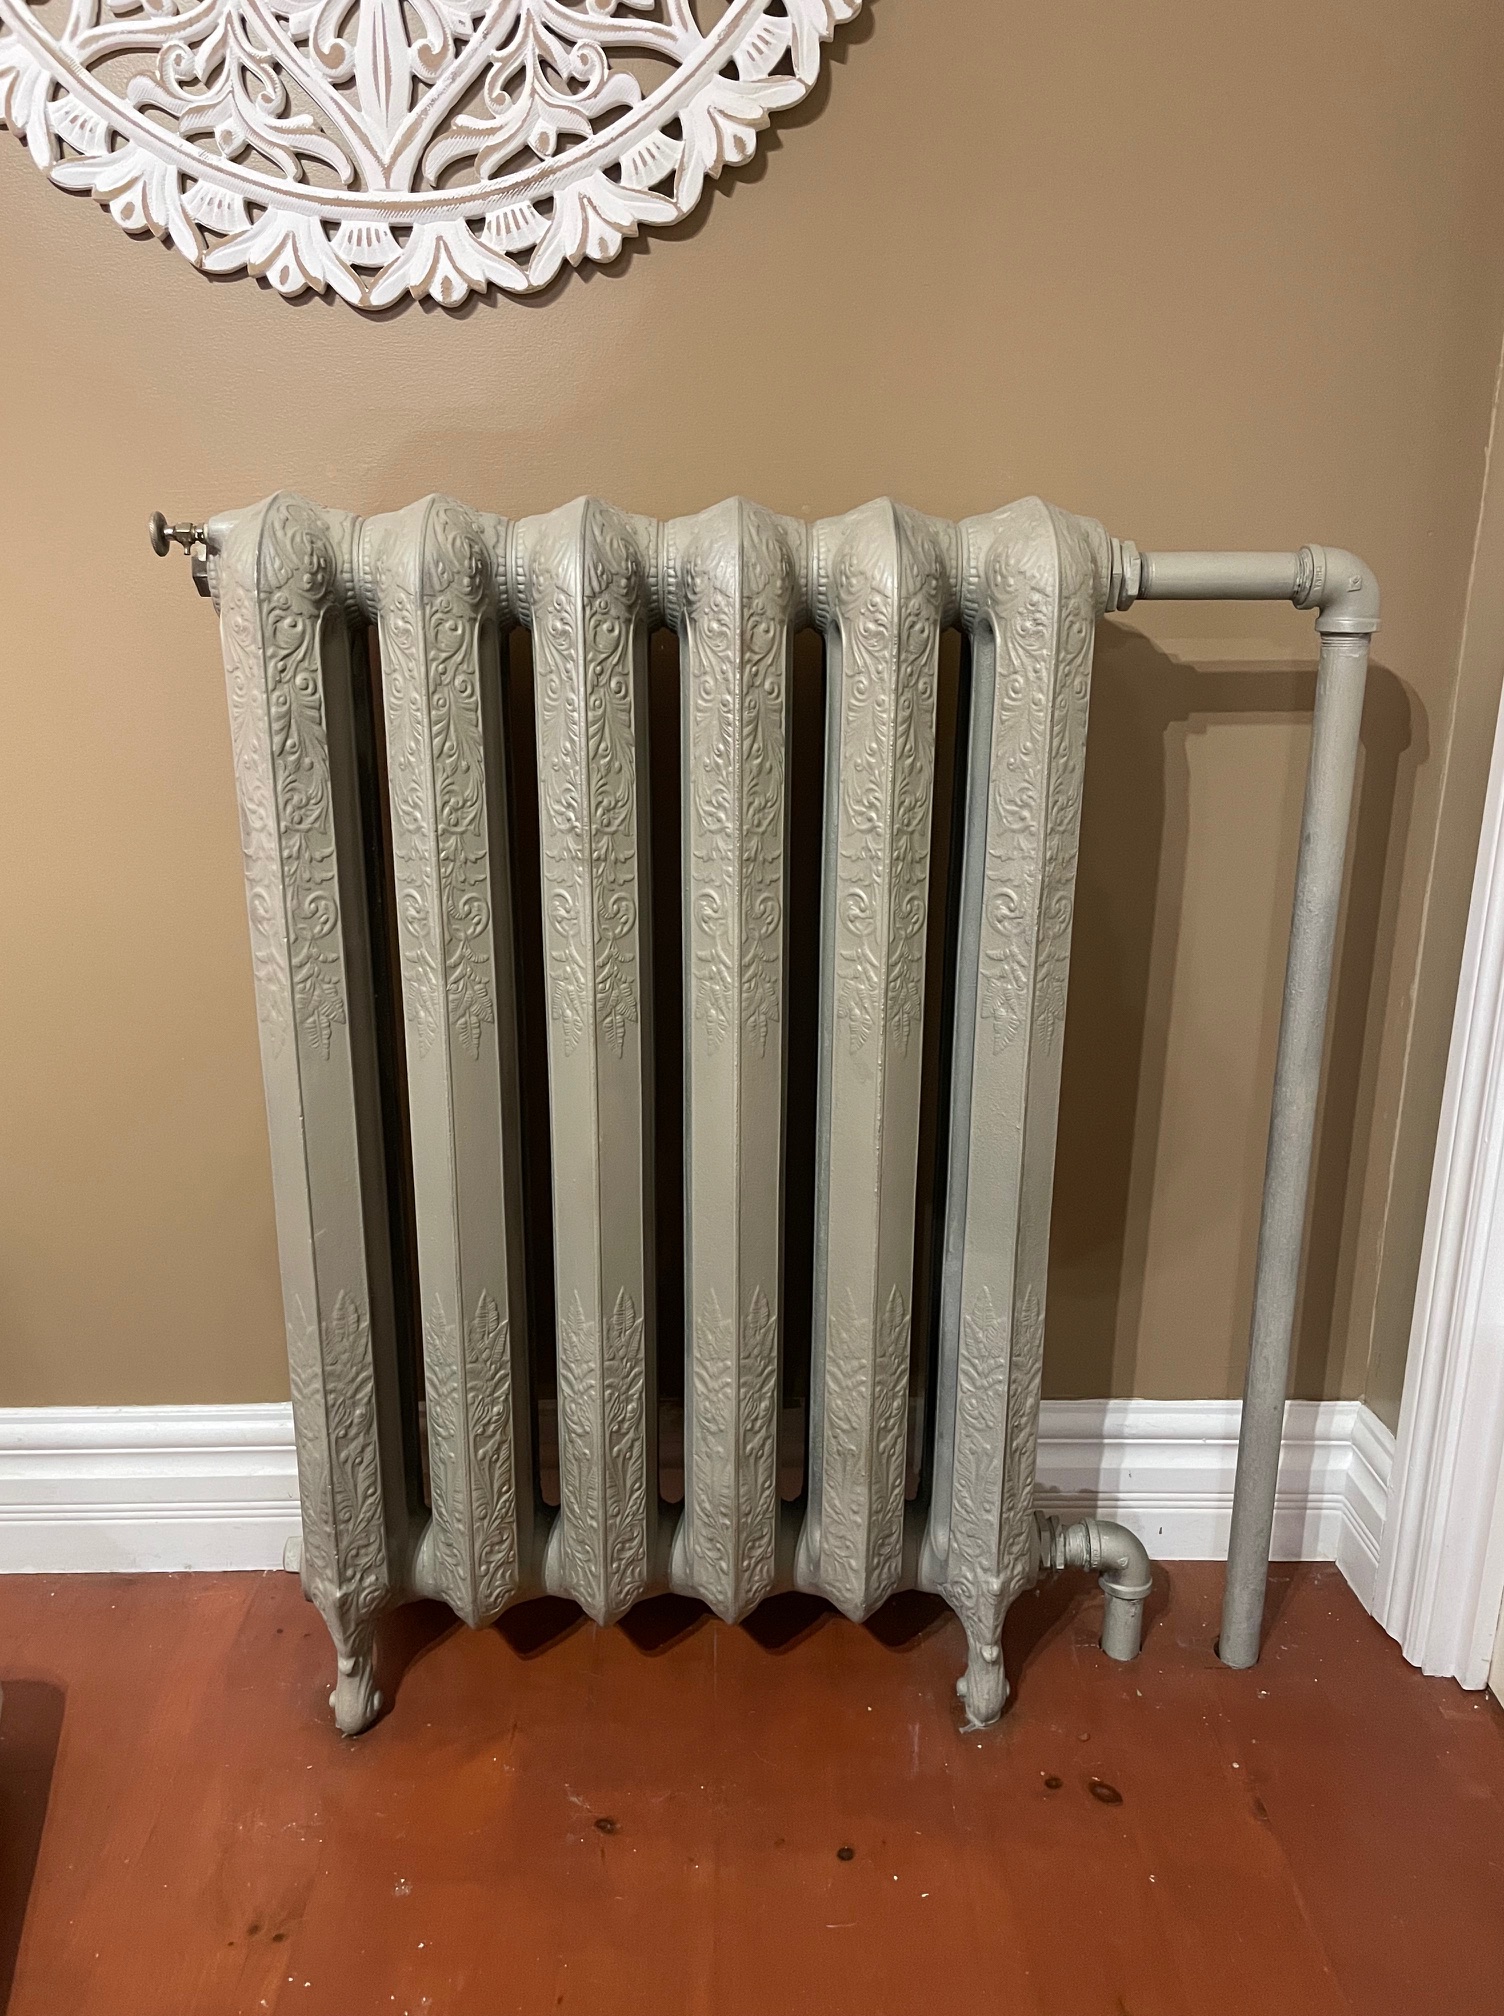
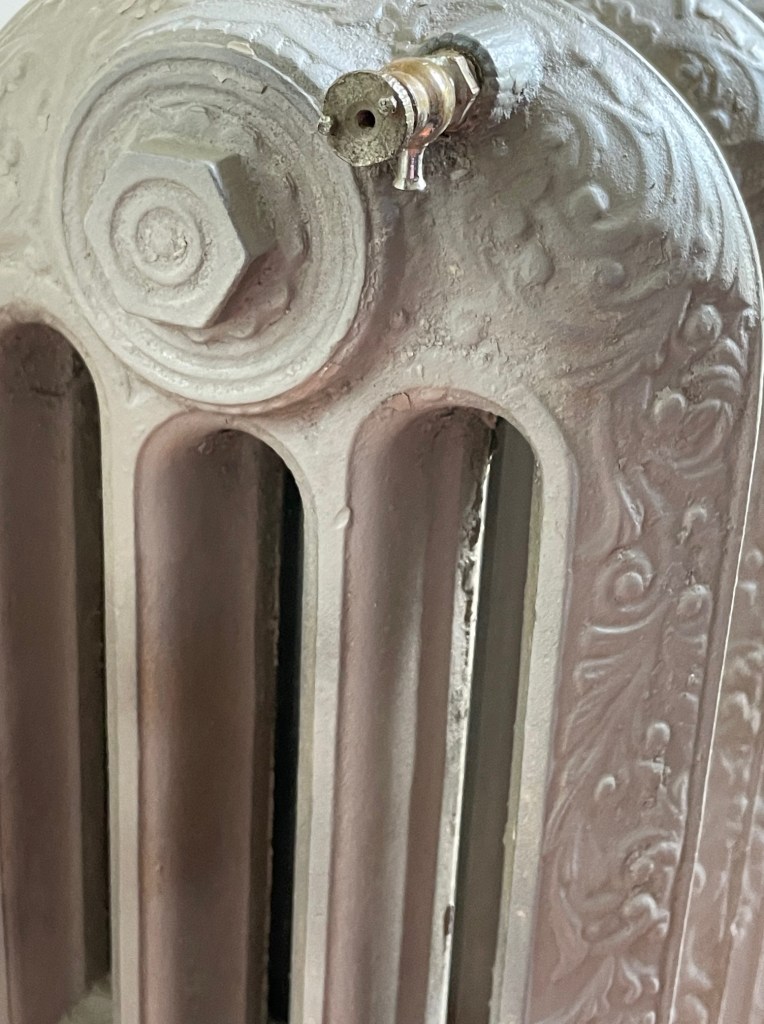
With visitors coming for summer holidays, getting the guest room radiator all shiny and safe was a top priority. It’s a Safford “Favorite” radiator according to this archived radiator information booklet, and it has six fins and four columns. The number of fins relates to the sections (length) of the radiator while the columns relates to the number of channels (depth).
Cleaning out the gaps is a bit challenging and brushes are a must. To keep lead dust to a minimum, I was very gentle with the radiators prior to the paint removal. I dusted each one with a dry rag, then damp rag, followed by a gentle brush with a radiator brush to get into all the gaps.
I used plastic to drape around the radiator and included the wall behind, sides, and floor. During the removal process, I learned how sticky the paint remnants are and wished that I did a better job draping the floor area. The stuff gets onto your shoes and transfers to the floor despite your best efforts. It would be a good idea to don/doff your footwear when moving in and out of the radiator draping area.
Good thing our floors still need to be restored!
Step 3. Application of Paint Stripper
I estimated the amount of 690PB stripper that I would need and mixed up about 40oz of gel with the activating powder (instructions indicated 3.5g of powder per fluid oz). Using a drill with a paint mixing attachment, it blended up easily in seconds. It was smelly though. Keep the windows open and use fans for ventilation—but only use fans when there’s no dust and debris that would get blown around.
It took about 15 minutes to coat the radiator with the 690PB gel. I used a regular paint brush and a radiator paint brush to get this done. I applied a thick coat of the gel and then let it sit, covered with plastic, for about 10 hours. When I checked it, it seemed a bit dry but had lifted about three layers of paint . I touched up the drier areas with another thin coat (once mixed, the solution is active for 24 hours). Another 10 hours later and it was ready to remove.
Step 4. Removing the Paint Stripper
This is about the time you question your decision to do this in the first place. The radiator is a globby, gooey, stinky mess. To get the product off you need to have patience and trust the process. Patience now will pay off in the end.
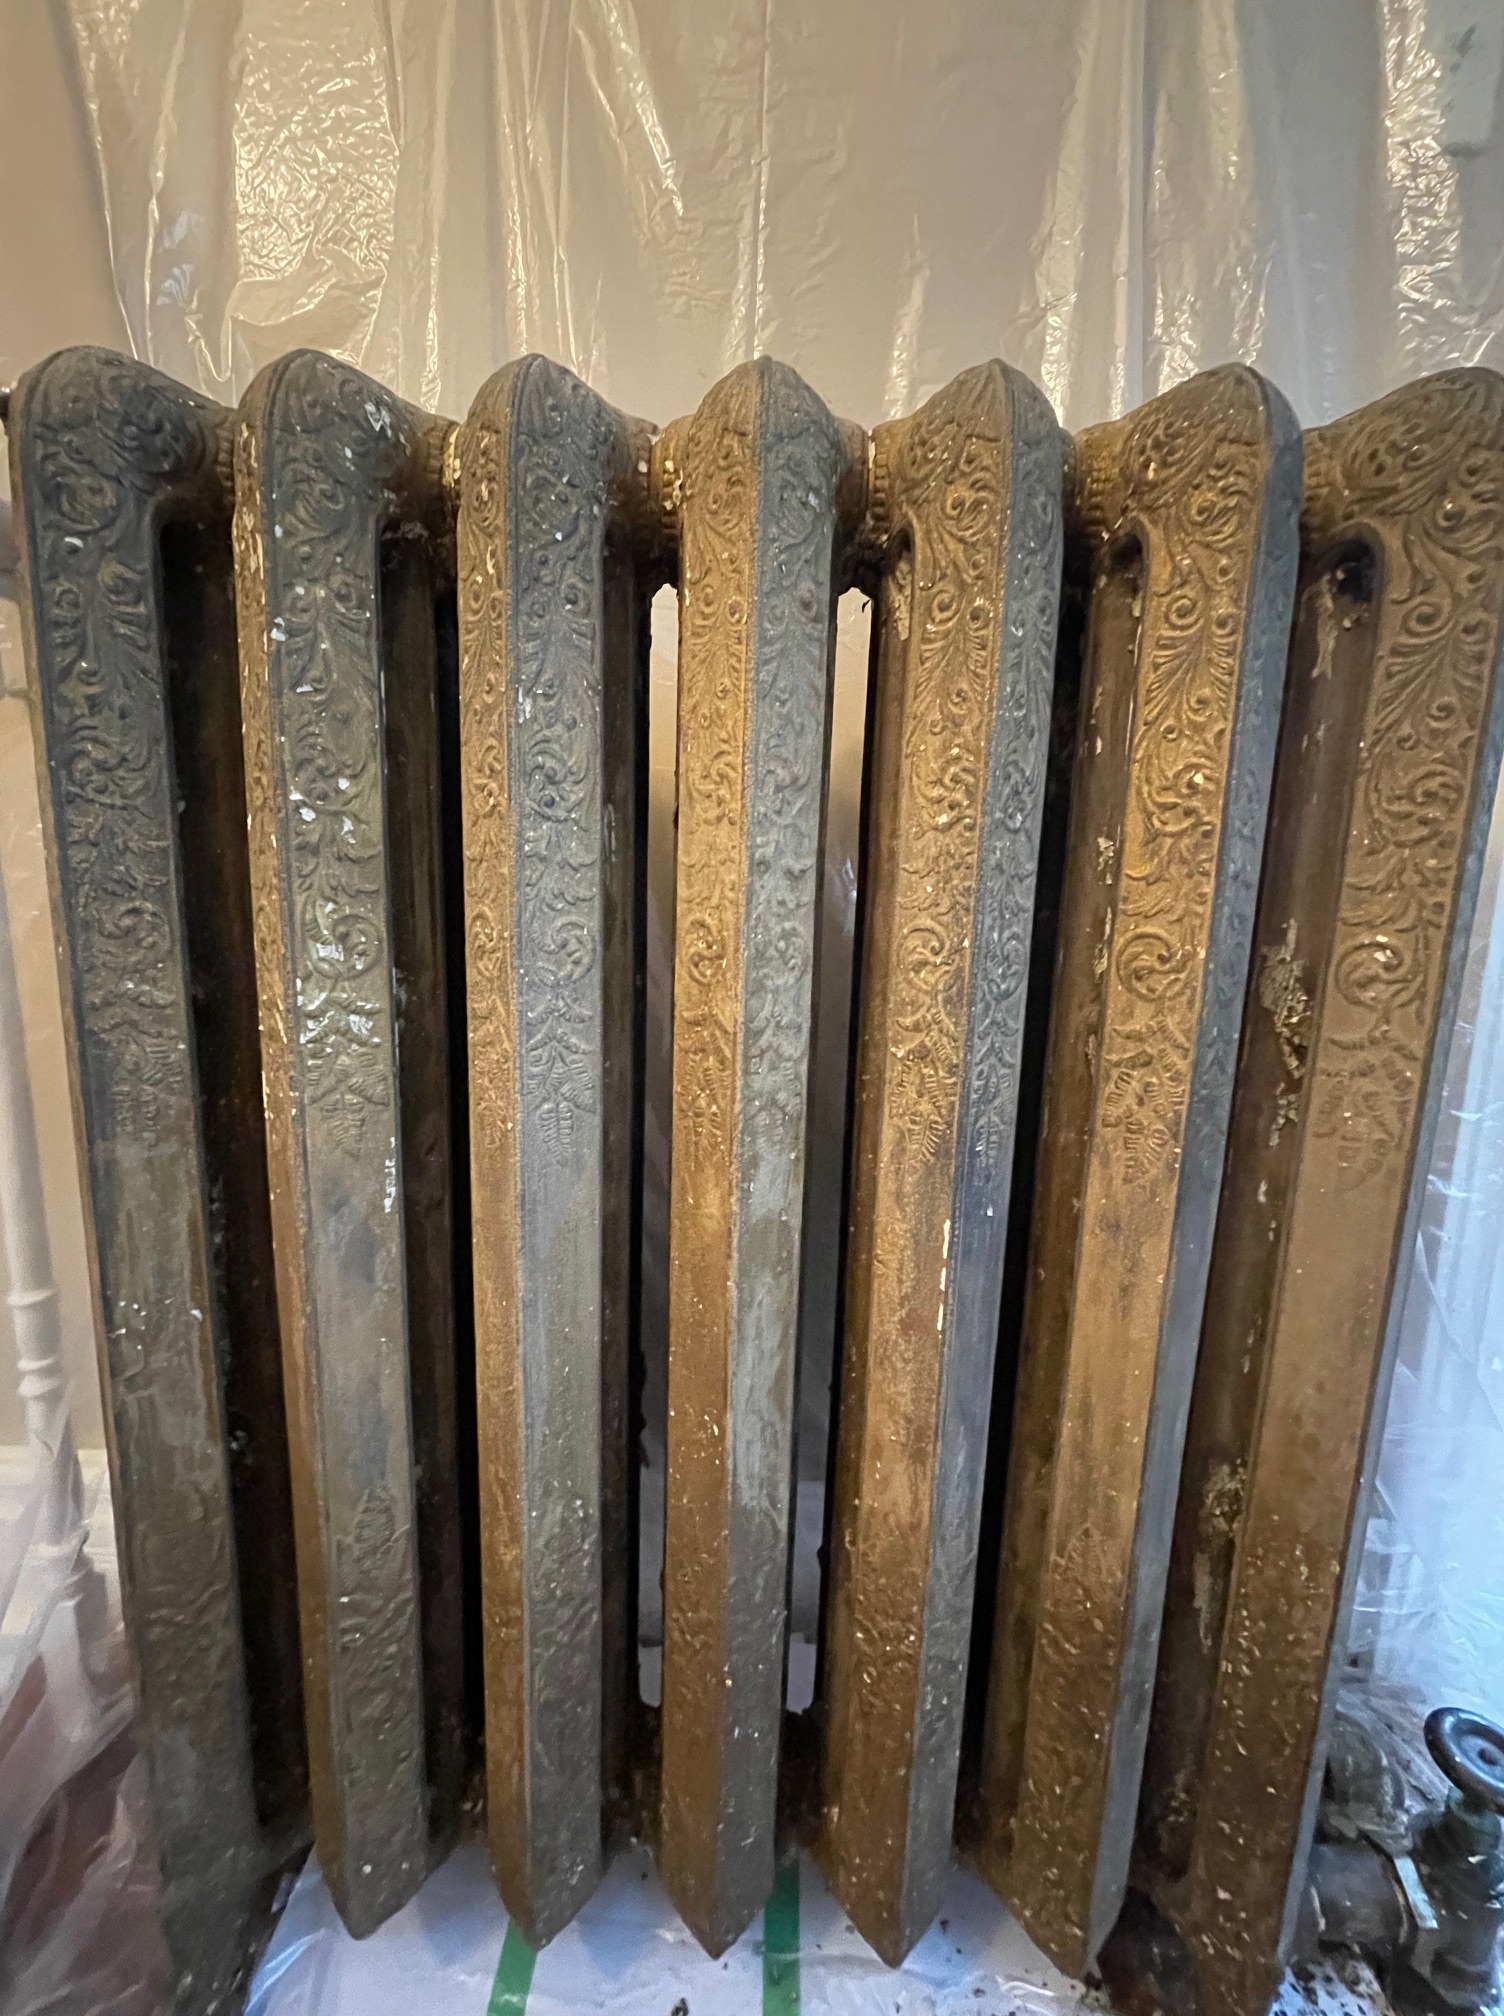
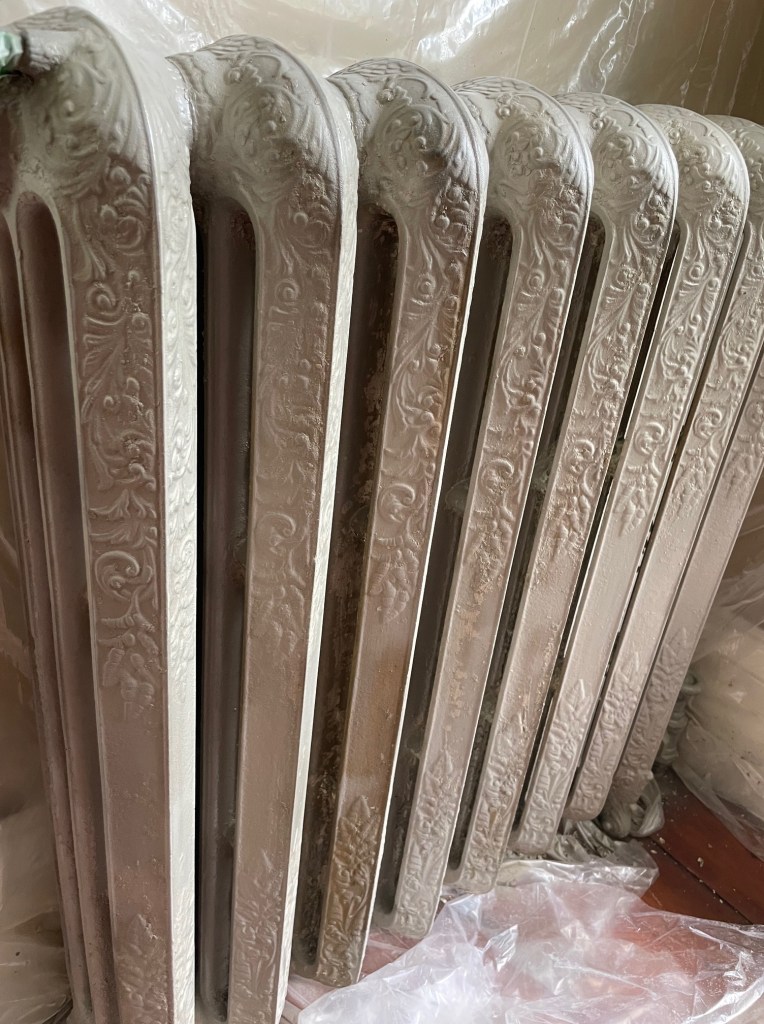
I started by simply using a small putty knife to scrape off the excess. This part was kind of fun because you really get to see the historical layers of paint. This radiator looked like it just had a bit of white left on the top, but it actually had three layers on it—gold, brown, and cream/white.
Removal took several rounds of cleaning. Here is my general approach after completing four of them:
- Scrape off stripped paint with putty knife
- Use dry rags to wipe off residue and get between fins and channels
- Use a grout brush and radiator brush to scrub again
- Use a damp rag to wipe off dust/particles and get between fins and channels
- Use a brass brush to clean the details
- Use a damp rag to wipe
- Use a brass brush to clean the details
- Let it dry
- Inspect and repeat entire process as needed
Product summary: In the end, I was happy with the product and thought it did a really effective job. That said, it smells terrible and is kind of slimy in the removal and clean up, but it works. My technique improved with practice and clean up got easier over time.
Step 5. Repainting the Radiator
Here is where things start to get really confusing. The first thing most people say when you mention you want to repaint a radiator is, “Well, you’ll be using high heat paint then.” Except… maybe not.
Regular paint has a service temperature limit of 200°F and a cast iron radiator reaches 150°F to 190°F. This means that regular paint should be just fine on your radiators. That said, it is possible to experience some softening and tackiness at these temperatures. Not ideal, but also, kind of not really an issue given that people shouldn’t be touching the hot radiators anyhow. And, the tackiness goes away when it cools down.
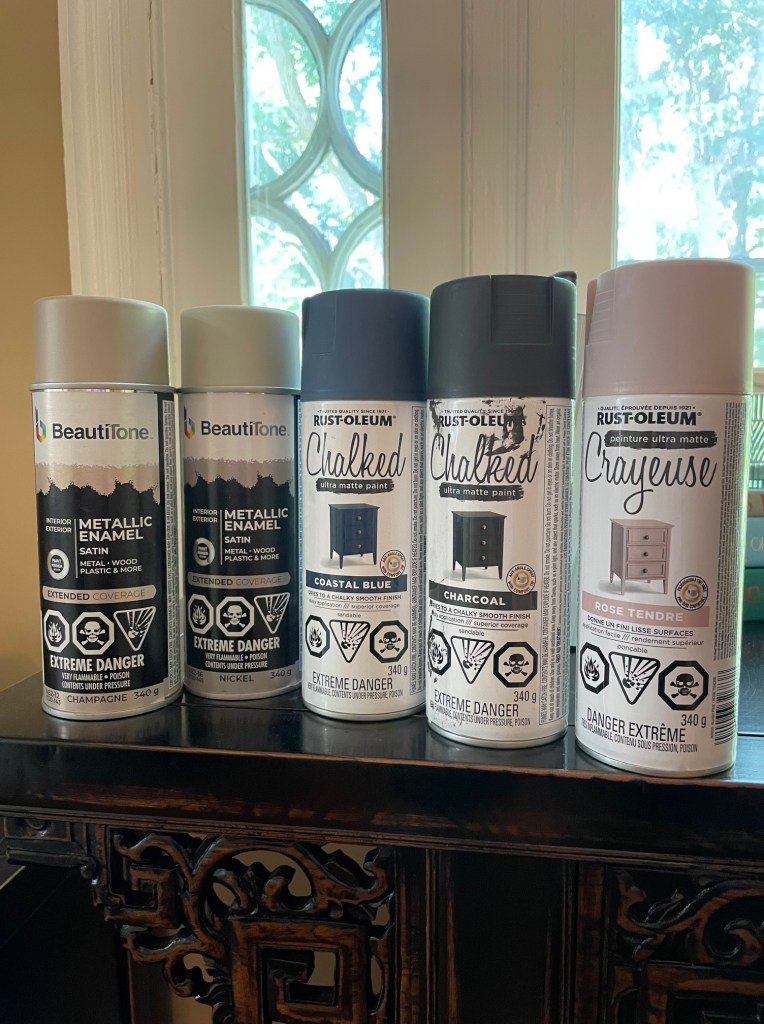
If you want to use high heat paint then go for it—but you will find the paint colours are very limited. If you are good with a regular paint, then the sky’s the limit. Just be sure your paint is good for application on metal.
I used different types of paint on my radiators and will follow up this post with results once we get into fall and winter to let you know how they performed in operation. Generally, one can of paint per coat and two coats should give you good coverage.
Step 6. Clean Up
Since I used plastic to drape my work area, I bundled up all the waste and disposed of it as non-hazardous, per manufacturer recommendations. The 690PB gel cleans up well with soap and water. I waited until well after the 24 hour active time limit to scrape out my buckets and clean up the mess.
The floors were left with some mess on them and by the feet of the radiator where the sludge pooled to. Those areas required a bit more clean up with soapy water and a scrub brush.
Step 7. Curing
An important step is giving the paint time to cure before you put your radiator back into service. No matter how long you wait (I’m giving it a couple weeks), you can expect there to be some wicked off-gassing that can last days or weeks. Since we won’t be turning these on for a few more weeks, I can’t give you any details on my experience yet. But, I’ll update this post as I learn!
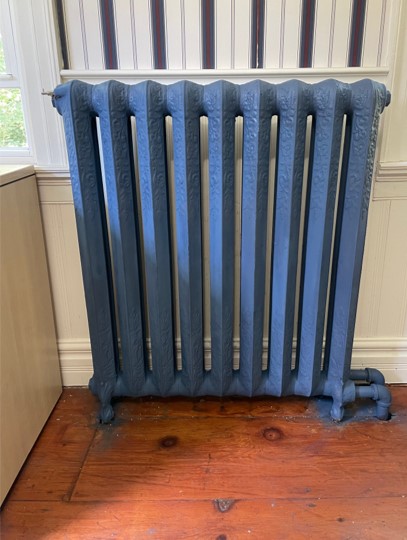
The Results
I loved redoing our radiators. Sure, it was a ton of work. But, the before and after shots are amazing. Don’t get me wrong. I am looking forward to the day when I can have these professionally coated and pimped right out. But for now, these are the kind of images that keep me coming back for more.
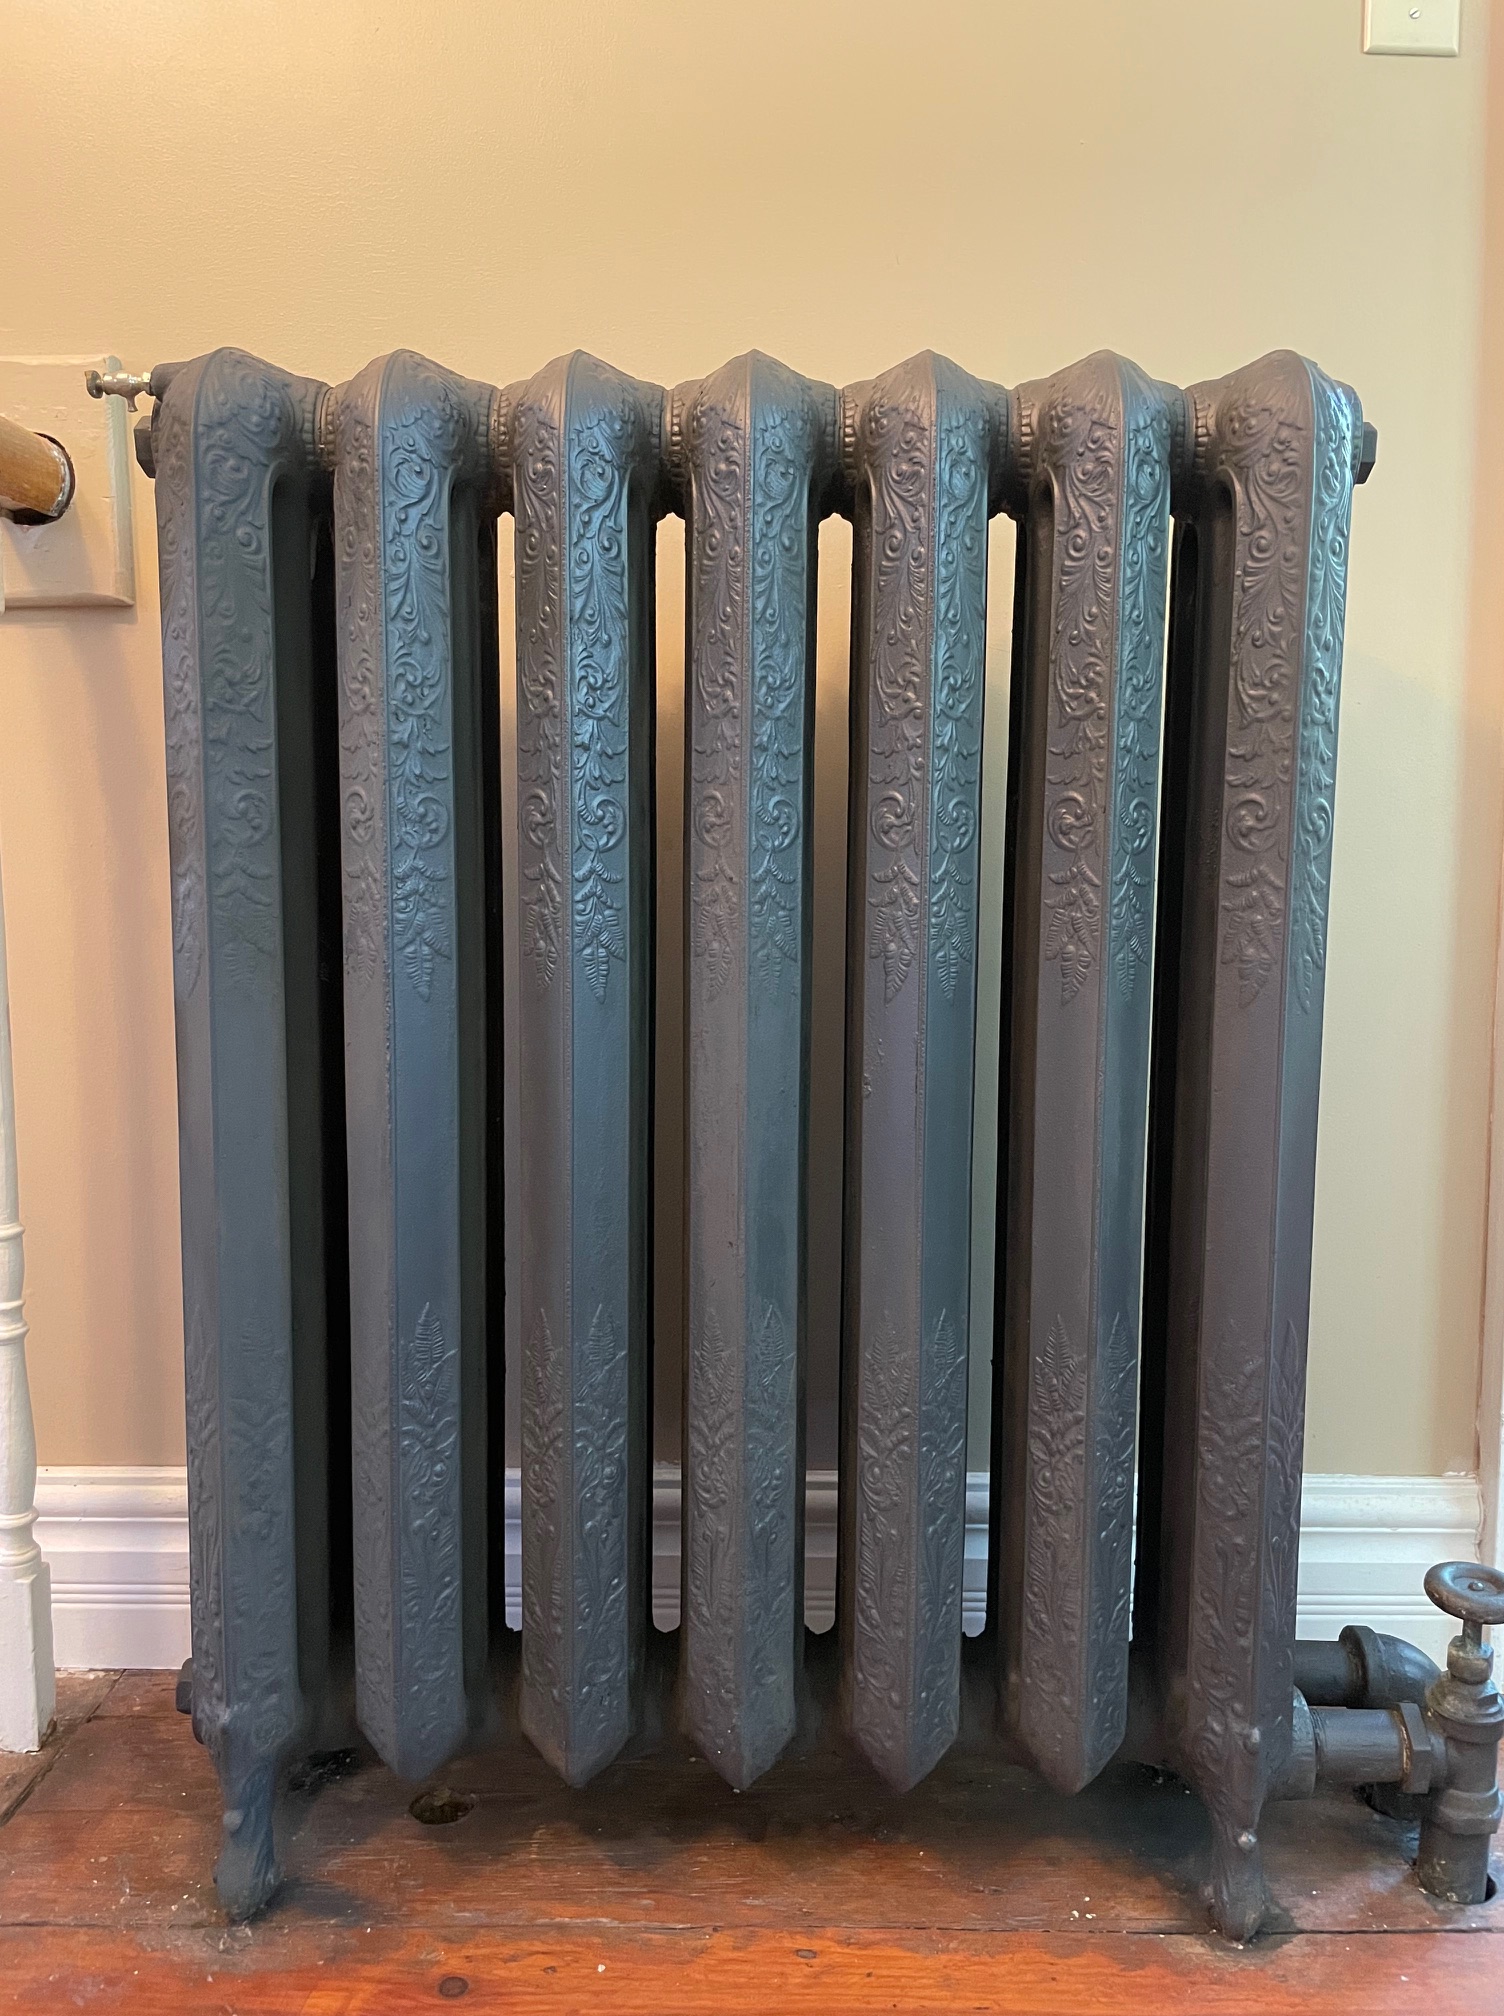
The guest room features a six fin, four channel Safford “Favorite” radiator. Here is the before and after comparison.
The upper hallway has a larger version of the Safford Favorite, seven columns in total.
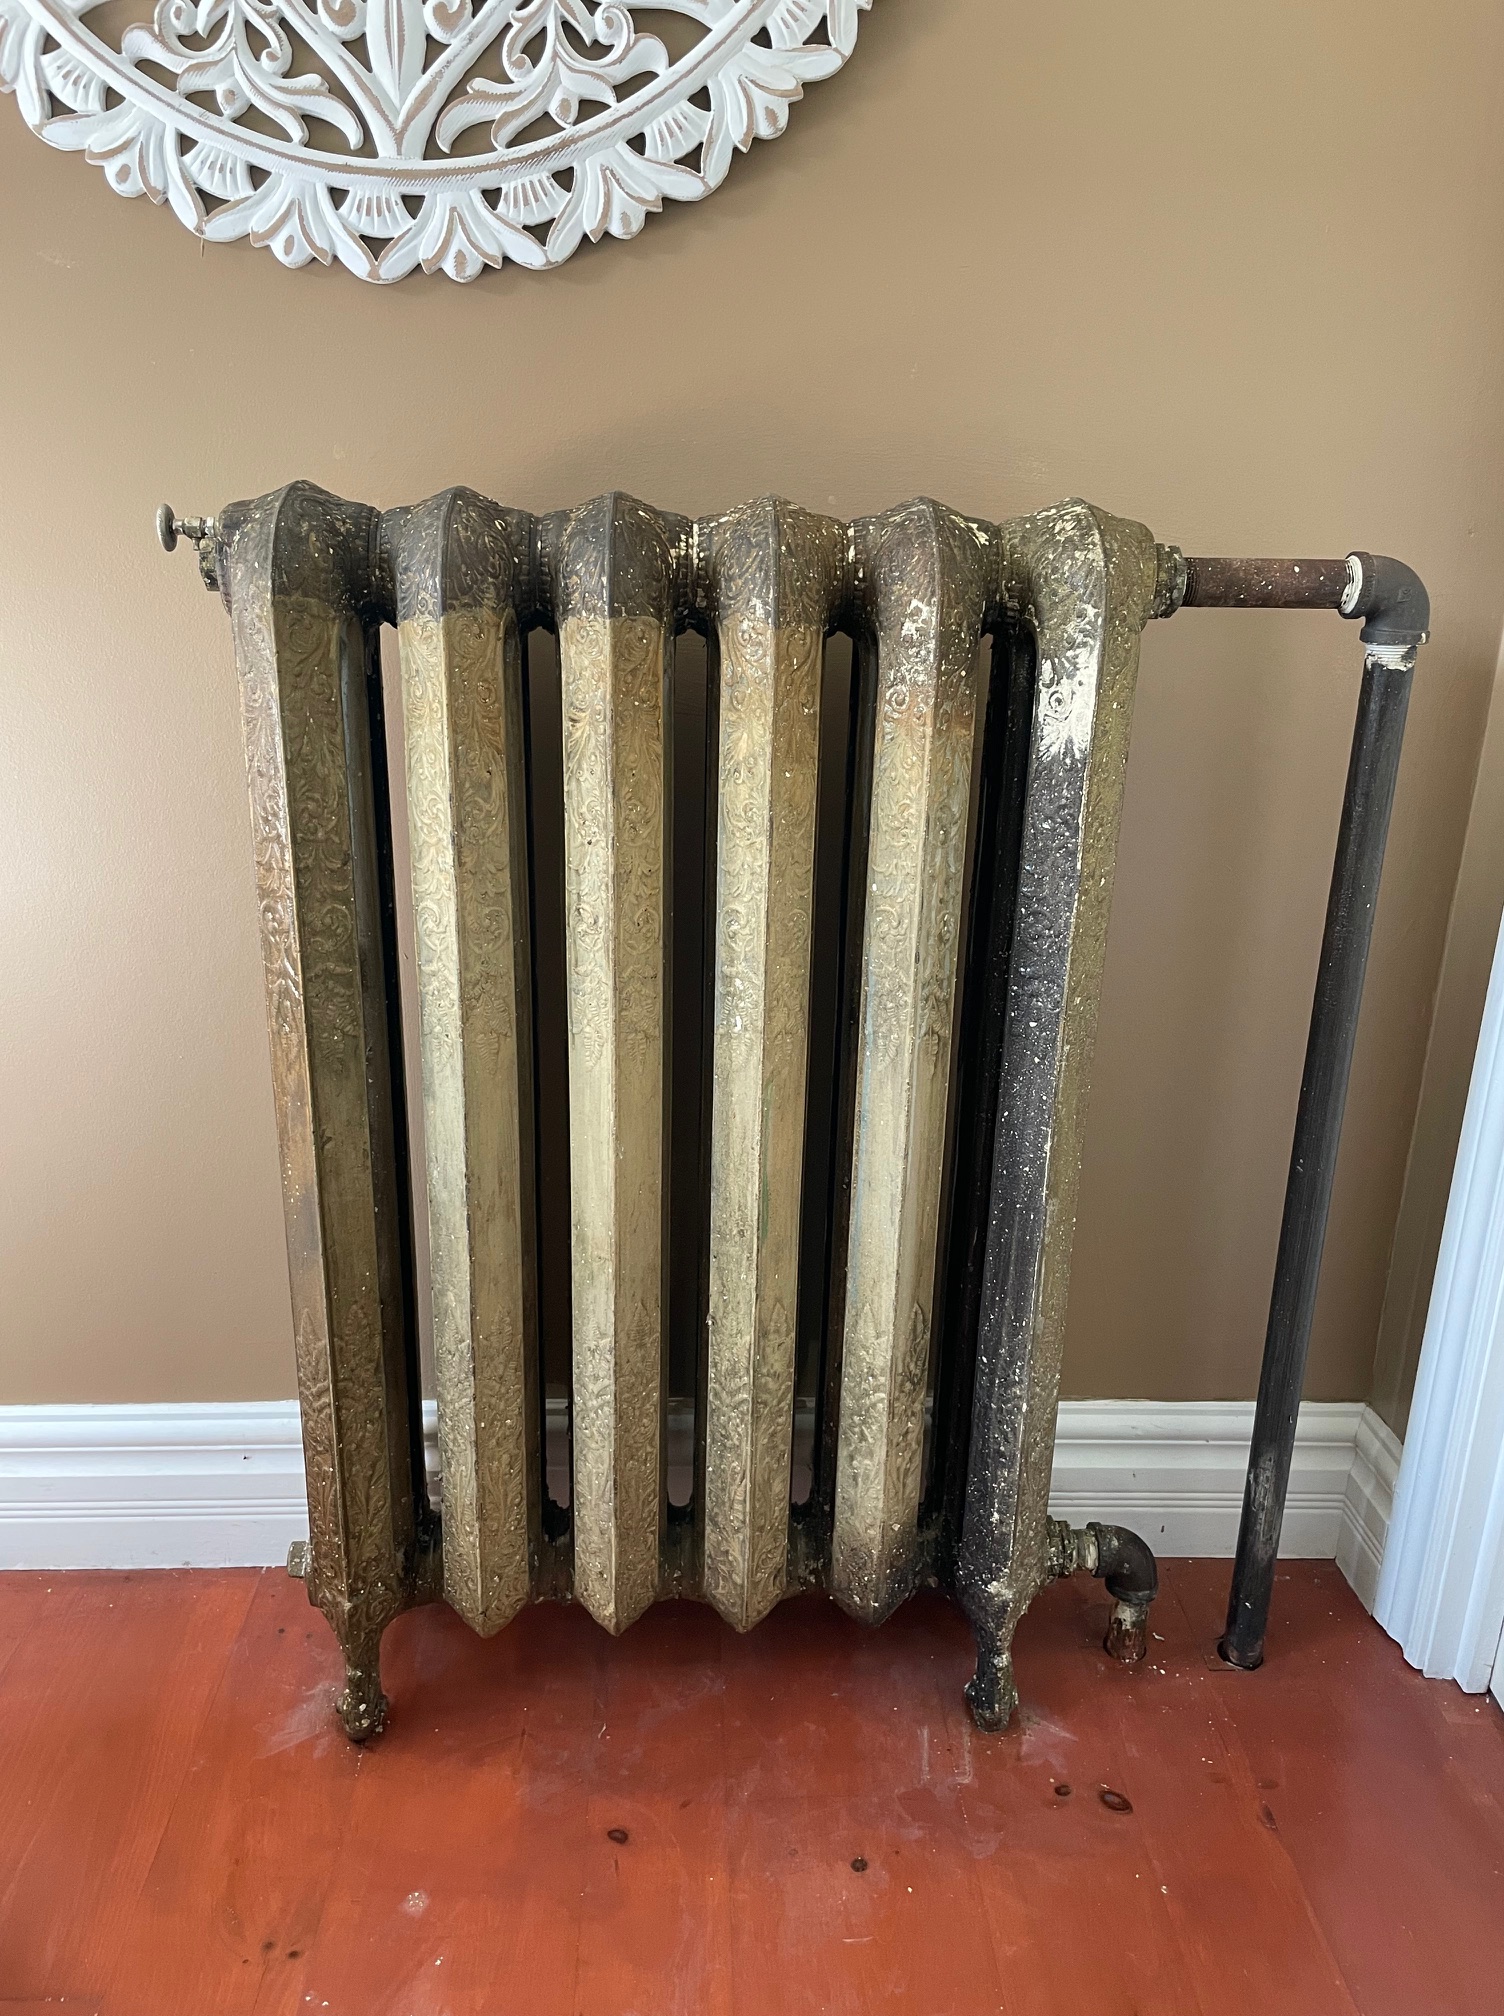
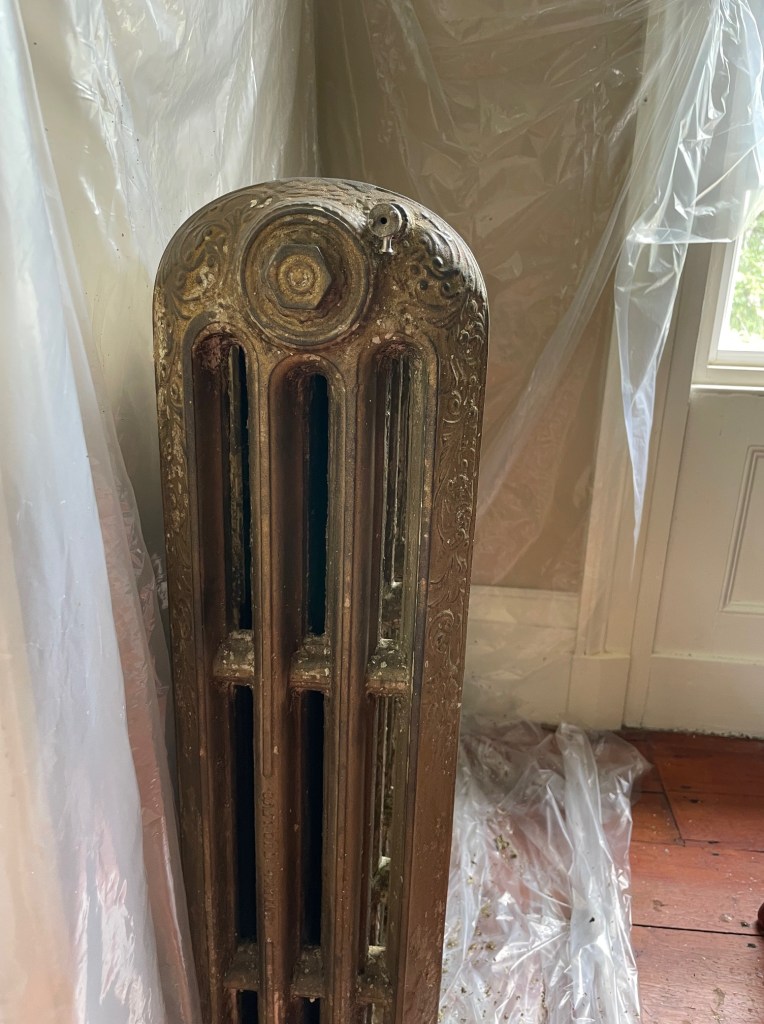
Keith’s office radiator seemed to be the oldest of the bunch, or at least the one in the roughest shape. It was very rusty and I was hesitant to try and scrape too much of the rust off. Although we’re happy with the improvement from before to after, a close look will show you there is lots of flakes of paint that were covered up. This radiator is different from the others in the house because it has only two columns—still a Safford Favorite.
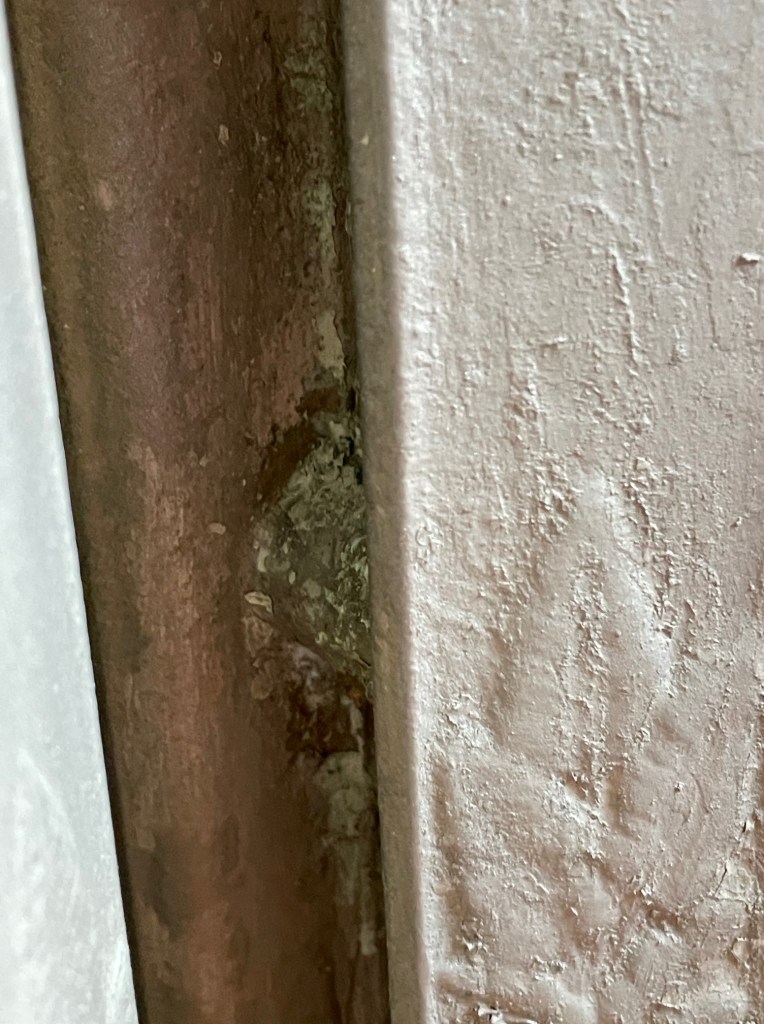
This picture shows the radiator mid-way in the stripping compared to the final finish. You’ll see the mess I left under the radiator when I touched up the paint. Our floors are going to be resurfaced so I wasn’t overly concerned, but typically you’ll need to spend some extra time making sure you tape off these areas and keep the paper and plastic flat and smooth so that the paint can get to all the surfaces.
Looking for an Example of What NOT to do?
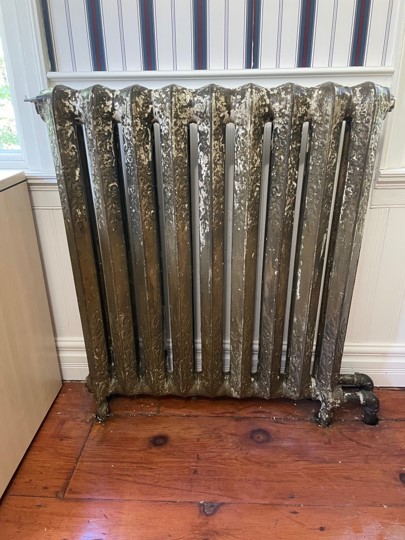
What help would I be if I didn’t show you my epic fail? Of course, this was the master bedroom radiator and it was the last one that I needed to do for the season. The reason it was a fail was because I was tired of the smells, sore from all the manual labour over the past three months, and impatient to be done. As a result, I painted the radiator when I should have done another round of stripping and cleaning.
There were many points when I knew better but pushed ahead in a desire to be “done.” The paint I bought (both cans) didn’t spray, so I had to use the paint from the guest room. Sign number one, right?
Then, as soon as I started spraying, I say all the junk still on the radiator. I thought I’d done a final clean but I didn’t. There was still wet sludge in the gaps. Did that stop me? Hell no. After all, I was finishing them all no matter what. *facepalm*
Take your time to go through every fin, channel, and gap. Sometimes, you even have to do another full round of stripper. Ugh. It’s not what you want to hear, but it is the truth. Here’s how crappy your radiator can look if you take shortcuts. Note that this radiator will be first on the list for next season.
There was still a lot of gunk in the radiator when I applied paint. It was late at night. It was dark. I was impatient.
I hope this post inspires you to give your radiator a fresh look. Although time consuming and messy, this really is an easy and gratifying home improvement project. Happy painting!


Leave a comment